Blooket Host: How to Host Game – Detail Guide updated 2024
How to host the blooket game? It is an interesting question. Blooket is a learning aid for classrooms in which teachers can host interactive quizzes on a large screen for their student audiences. Students log in from their own devices and answer the quizzes.
The job of the Blooket host is to conduct the Blooket game in front of the audience, who will take the quiz interactively. Hence, if you are the one wondering how to host the blooket game and what will be the procedure and tips, then this article is for you. So, without any delay, let’s explore!
How Do I Host A Blooket Game?
The first step for the Blooket host is to create a set of questions. The questions form the very base of the Blooket game. The Host could have already created this set of questions, selected from his Quizlet account, imported CSV files or created manually.
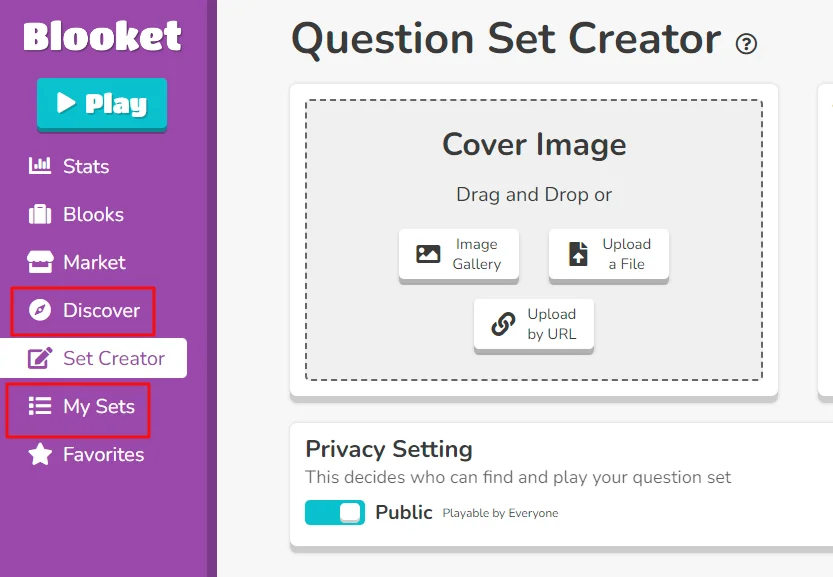
The pre-created question sets can be accessed from the “My Sets” tab. The questions in the Blooket database can be accessed from the “Discover” tab. The new set of questions can be created using the “Create” tab on the Blooket interface.
Once the set of questions is finalized, click on it to open the question set and host the game on those questions.
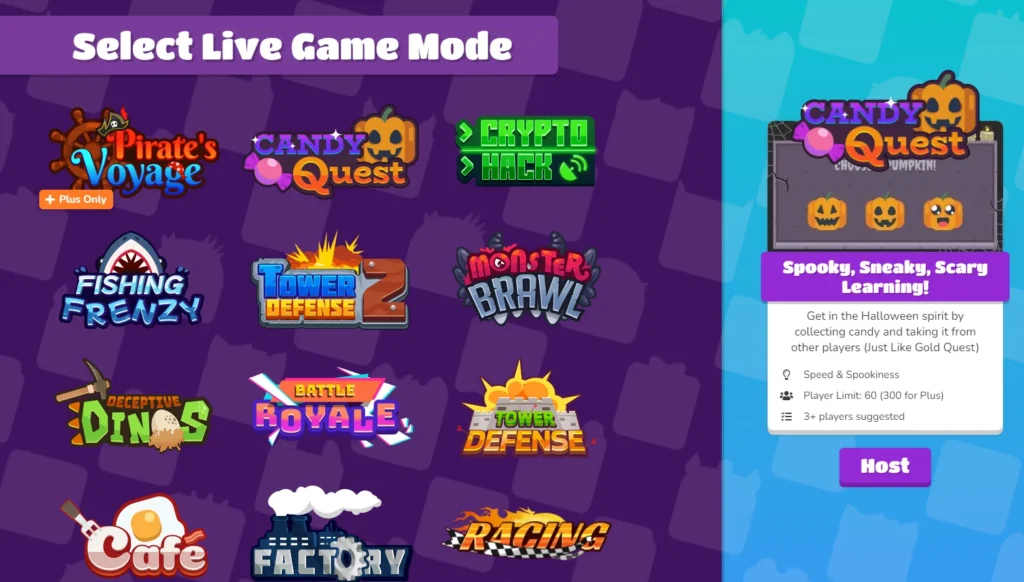
The next step is to select a live game mode. Currently, twelve game modes can be hosted live. These include Monster Brawl, Deceptive Dinos, Gold Quest, Crypto Hack, Fishing Frenzy, Blook Rush, Battle Royale, Tower Defense, Cafe, Factory, Racing, and Classic. The two game modes, Crazy Kingdom and Tower of Doom, can only be played solo or be given as Homework.
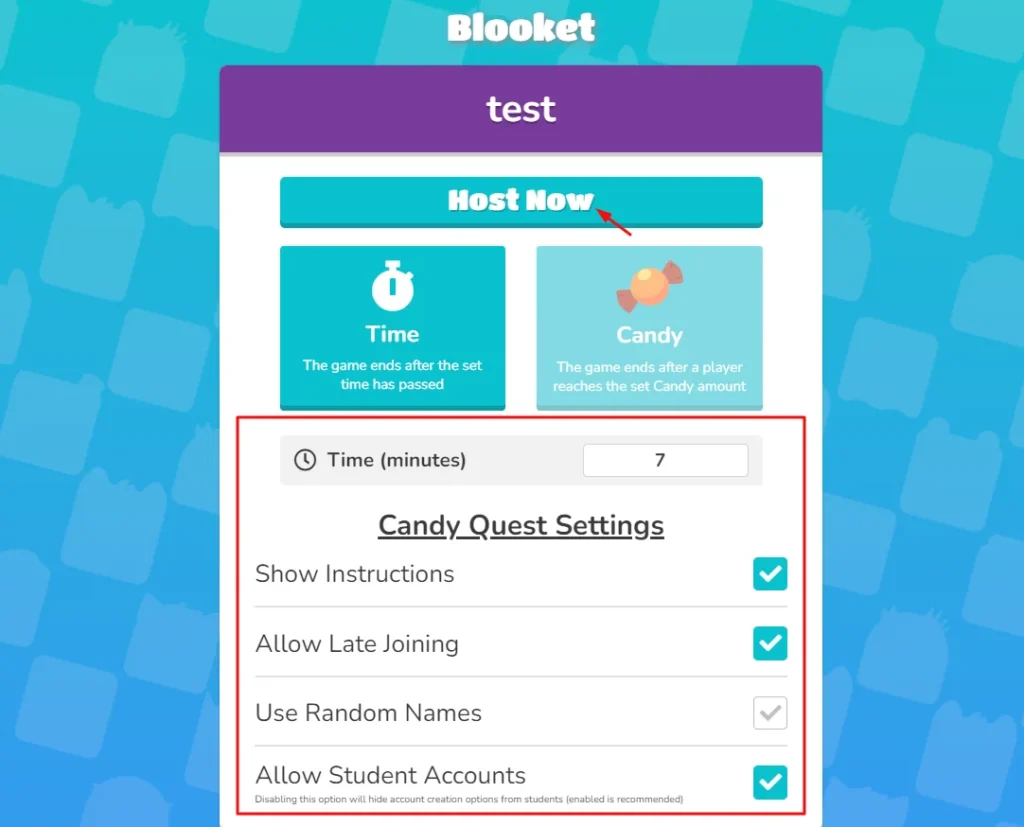
After the selection of the Game mode is done, The system will then ask you to set the time limit or goal to suit your game requirements. This is the total time you will be allowing your students to play the quiz by answering the questions in the game set. This is generally a few minutes between five to ten minutes and is completely the choice of the teacher or Host.
The other options the system provides are whether the teacher would like to show the instructions, allow students to join the game late, and allow students to create accounts.
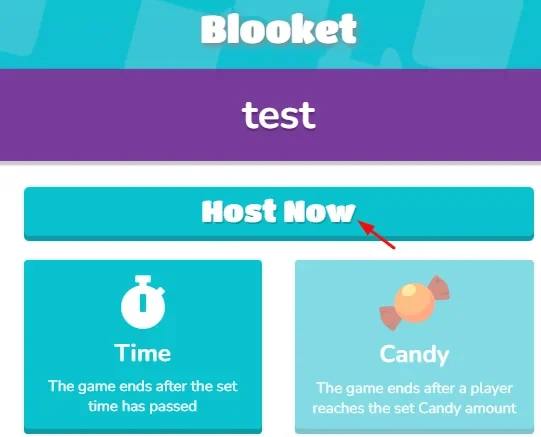
Once all the settings have been correctly chosen, the next step is to host the game. This is done by selecting the “host now” option. Once the host option has been selected, it is time for students to join the game and start answering the quiz questions.
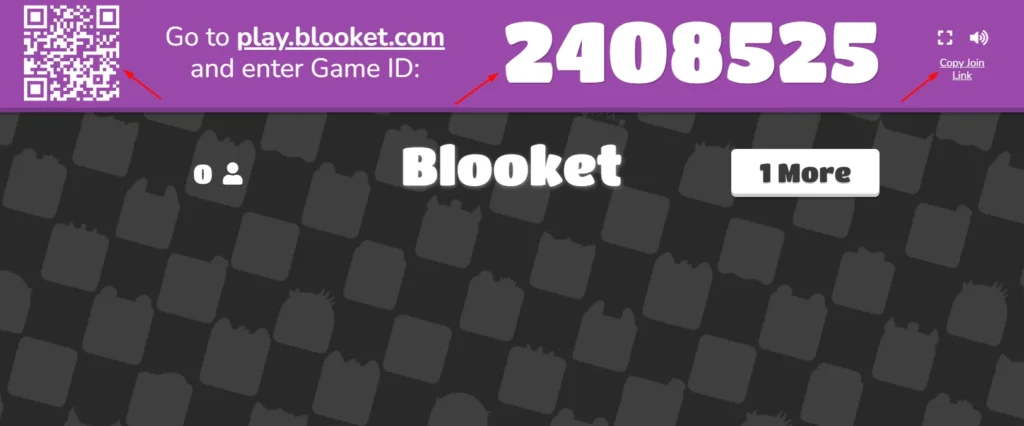
Students can join the game by one of the below three options.
- Scan the QR Code from your device to log in and play the game.
- When prompted, enter the 6-digit game code at play.blooket.com.
- Students can also join by clicking on the link. The link is useful for virtual classes.
Once the students have joined the game, click on “start” to begin the game.
How to host a blooket game as a student
Actually, the booklet host is specific for teachers. Students can join the game and play without an account. But worry not! Students can also host games on blooket and can play with their classmates. So, follow the below steps to host a game on blooket as a student.
Signup or login your account
First, You need to create your account on blooket. If you already signed up for an account blooket, that’s good.
Visit the official website.
Go to the official website blooket.com and find these buttons: Signup or Get Started.
Signup your account
Click on the Signup or Get Started button. Fill in your valid email ID and keep a strong password. If you want to go with a direct Google account, it’s also a good option.
Verify your email
Blooket will share the verification code in your provided email. Go to your mailbox, find the blooket email, copy the code, paste it into the verification box, and then click on confirm code.
Complete your blooket profile.
When your account is verified, then complete your blooket profile by adding your good profile picture, Selecting a student layout and adding any other necessary info.
If you still have an issue signing up for your account on Blooket, worry not. We have written a dedicated article on the specific topic of Blooket joining and signup. Click on the link and read content about Blooket joining and signup.
Login your Account
Login to the blooket account that you created previously.
Create a Game
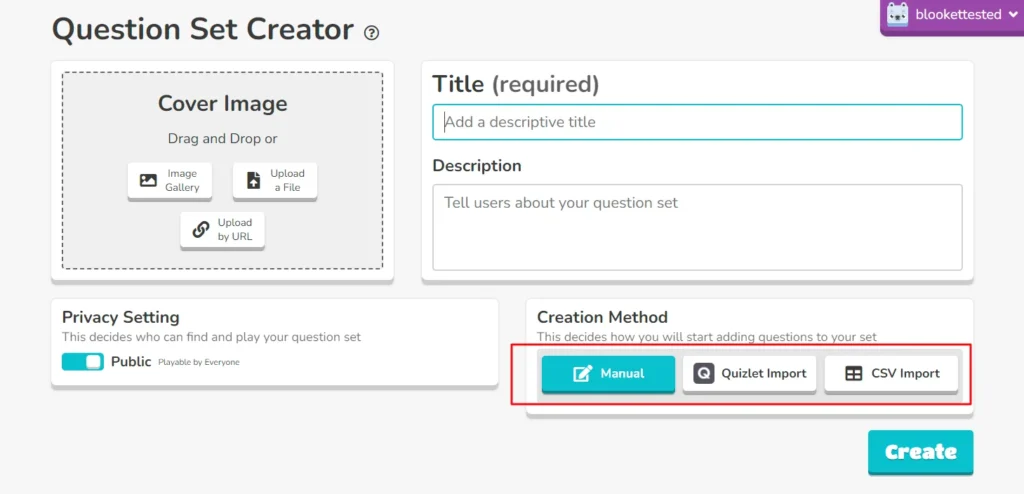
Once you log in, find the Set Creator button and click on it to create a new game. Now add the title, Cover image, and game description.
Set creation methods
you can set manually recommended methods, but you can import questions from your Quizlet account, or you can import CSV files.
If you will set the manual option, then select it and click on the create button.
Add questions
Now, add all questions that fit your students and save them. You can also import the question themes into the Blooket Discover database.
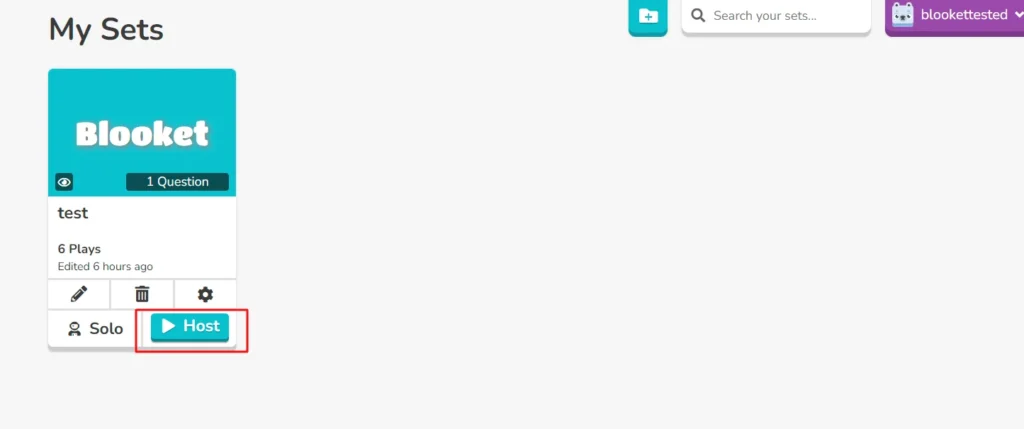
Select your set
One question will be added, then click on the My Sets button and select your set, which you need to host.
Choose Game mode
Once you select a set, click on the host button, and you need to select a live game mode, so select anyone which is best for your student’s spouse. You selected “Candy Quest” mode. Then click on the host button.
Setup your game setting
This is the last step. So, set up game settings according to your needs, then host the game.
Congratulations, your game is hosted! Now, you can share your game link, QR code, or play ID with your classmates or friends to play and enjoy the learning platform.
Understanding Blooket Key Features
Customizing Blooket Themes
The player can customize blooks. Their base, hair, nose, cheeks, mouth, item, hat, eyebrows, eyes, glasses and clothing can be changed. There are different themes available on the Join page of Blooket, depending on the current time.
The themes are changed during holidays.
There is a special theme for holidays such as Halloween and Saint Patrick’s Day. The Halloween theme, for instance, is marked by ghosts flying across the screen. Saint Patrick’s theme is a green screen with light green clovers falling down the screen.
There are seasonal themes in Blooket as well. A winter light blue theme with white dots that represent snowflakes and an orangish red theme with leaves falling are some of the seasonal themes.
Tips For Successful Hosting On Blooket
Successful hosting in Blooket entails knowing the student audience very well and creating a custom Blooket game exactly as per their requirements. This involves choosing the right set of questions, deciding the right time limit for the quiz game, and knowing how the students will join, whether through Game ID, QR Code, or Link, depending on which devices they will join from.
Conclusion
Blooket is one of the many new Ed Tech innovations in the Online learning world. It can make the learning experience enjoyable both for the teacher and the students. Blooket is very simple and only requires a little planning from the Blooket Host towards the subject to be covered and quizzed and coordination with the students to engage them in gameplay.
Frequently Asked Questions FAQs
Can you host Blooket now?
Yes, you can host a new game on blooket at this moment.
What is the maximum amount of people in a Blooket game?
A maximum of 60 students can participate in each game. If you have a larger group, please be aware that there is a 60-player limit for games when using a free account.
Can you host a Blooket for free?
All essential features of Blooket are free. A host can create an unlimited number of questions and host a Blooket game for an audience of up to 60. Blooket also offers a paid subscription plan for additional features in its Blooket Plus account offer. Group plans are also included in Blooket plus Subscription Plans. 300 People can play in the Plus mode.
How do I become a Blooket host?
Choose a set of questions, click Host on the question set, and select a game mode. Follow the steps through the Blooket system. A code will be generated for the students to log in. Share the code with the students, and let the game begin!
Can I customize the settings and rules of my Blooket game as a host?
Yes, the Host chooses the time limit of the game and if the students can join late. The Host also chooses other options, such as whether the instructions should be visible or whether the students can create their accounts.